
Prototype 3 - Wire thing
Wire Thing Tutorial
Wire Thing Tutorial by Charlotte Mackie
(handy tip to begin: if you right click and open the images in a new tab, they are readable! wow!)
Today's mission: Walkthrough how to get the coolest, wiggly-est, smoothest wire working in Unity.
We're going to use scripts, we're going to be doing some procedural mesh generation and EVEN a shader.
To begin what you will need:
- Unity downloaded
- Some C# knowlege
- A fresh Unity URP project (I'm using Unity 6000.0.40f1, but Unity 2023 versions are great too).
The First Step: Create your wire GameObject
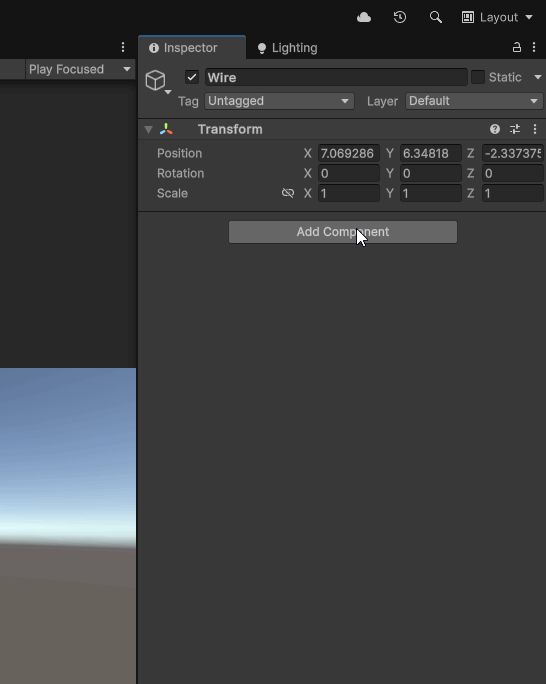
In the Hierarchy lets add an empty GameObject called Wire.
Within your wire GameObject, add a Mesh Filter and Mesh Renderer over in the inspector.
Create a basic material in your Assets folder, and we can assign this in out mesh renderer material slot (don't worry, we can spice this up later!)
The Second Step: Add Scripts
You will need two scripts (provided) Wire.cs and MeshDataRope.cs.
We want to add ONLY the Wire.cs script to our Wire GameObject, and you can leave the MeshDataRope.cs script in your assets folder.
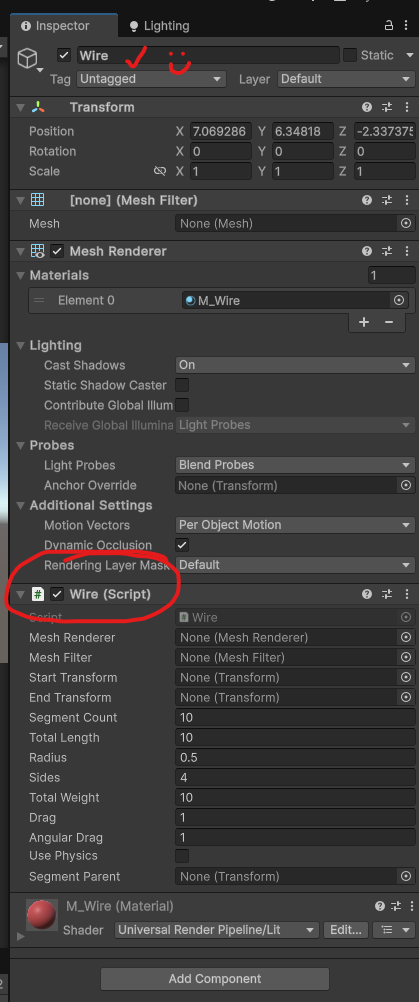
What does the Wire.cs script do?
- Creates rope segments between the start and end positions with Rigidbodies and Configurable Joints.
- Generates a 3d mesh that wraps around each segment and connects them to the next/previous segment.
- Handles live changes in your inspector during play mode (eg. Length, amount of segments, radius, weight etc.)
- Supports toggling physics on or off.
- (Please note whilst this script is altered slightly, full credit goes to Little Red Cabin and their Youtube tutorial series)
What does the MeshDataRope.cs script do?
- -It’s a helper class that builds the mesh data that our wire uses.
- -Stores vertices, triangles and UV’s as well as normal for our rope mesh.
- -Can do smooth or flat shading.
- -Allows for incremental addition of vertices and triangles.
- (Again, full credit goes to Sebastian Lague for this script)
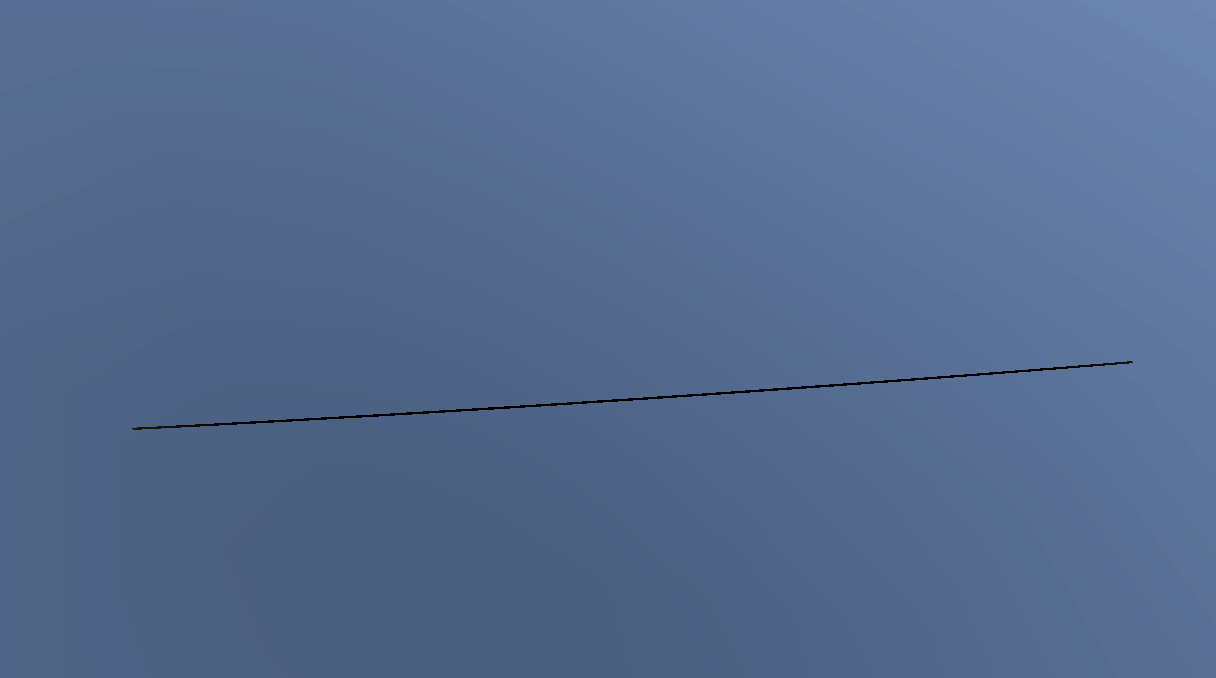
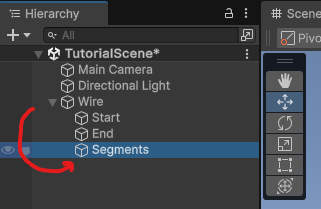
The Third Step: Define your 'Start' and 'End' points
Lets add two empty game objects to our Wire GameObject as children. We can call one of them ‘Start’ and the other ‘End’.
Once they are added, you can move them in the scene to your desired starting and finishing position.
Now you can drag your Start and End game objects into the ‘Start Transform’ and ‘End Transform’ parameters in your Wire GameObject over on the inspector side of the screen.
The Fourth Step: Create a segment holder
We need something that can hold all of our wire segments!
Lets add another empty child object to our Wire GameObject an call it ‘Segments’.
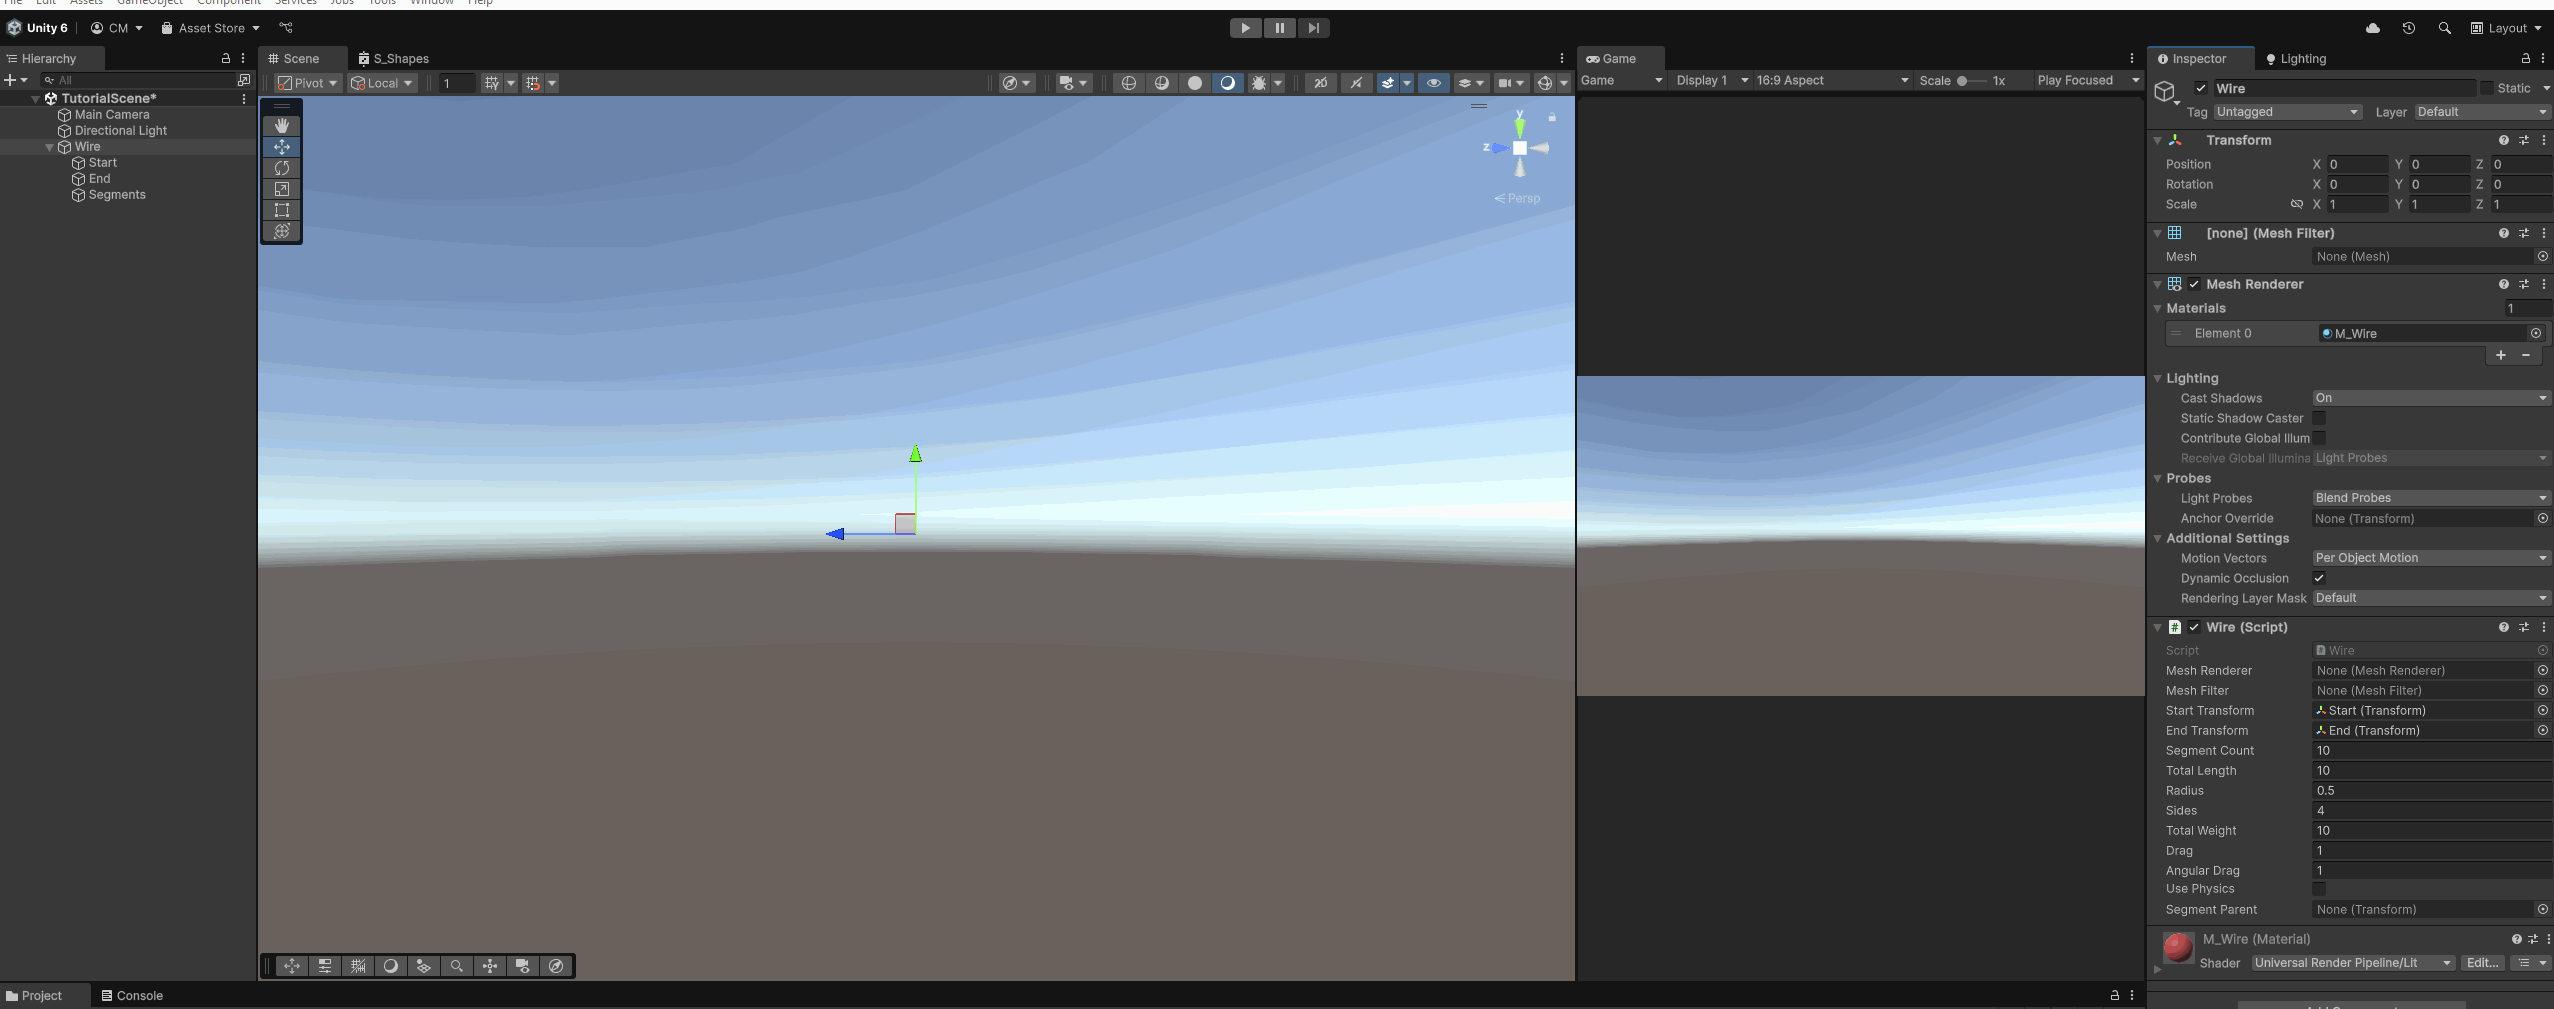
The Fifth Step: Configure our 'Wire' component
Just like how we did with our Start and End objects, we need to drag in a couple more things for our 'Wire' script to run over in the inspector!
- Lets drag our Mesh Renderer & Mesh Filter into the Mesh Renderer & Filter slots.
- And also drag our 'Segments' game object into the Segment Parent slot.
We should also set up some basic parameters so that our wire works! Here’s what I’m starting with:
- Segment Count = 400
- Total Length = 4.5
- Radius = 0.2 (nice and thin like a phone wire!)
- Sides = 8
- Total Weight = 2
- Drag = 1
- Angular Drag = 1
- Use Physics is Ticked ON
And lets do one final check that all our positions look good too!
- Wire GameObject is at 0, 0, 0 (this one is super important to keep at the origin, as your mesh will render offset if you move it, and not your start/end positions!)
- Segments are also set to 0, 0, 0 (again super important to keep at the origin)
- Start is set to 0, 0, 100
- End is set to 0, 0, -100
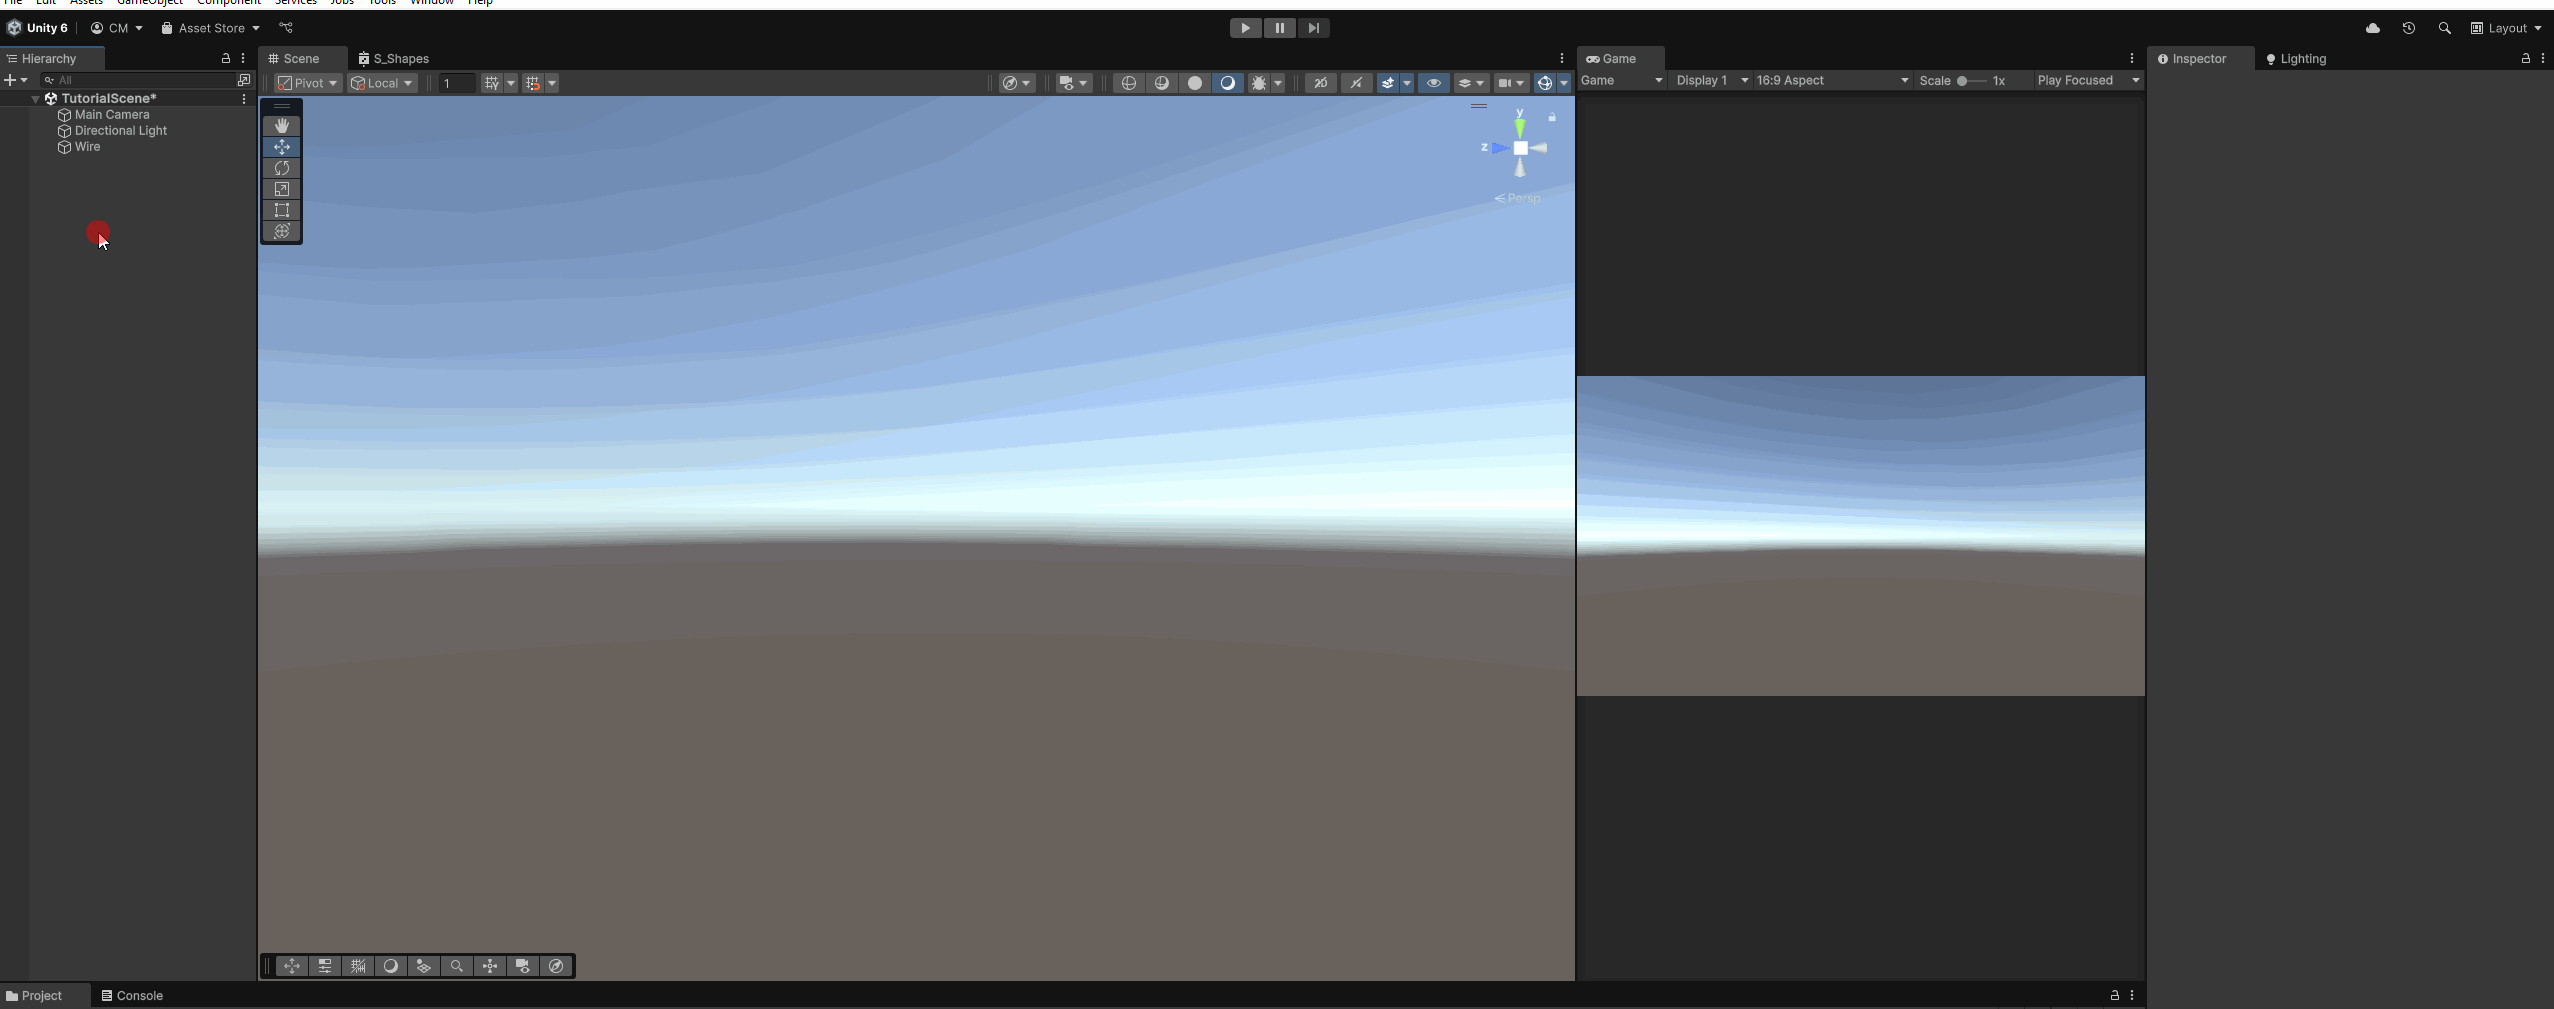
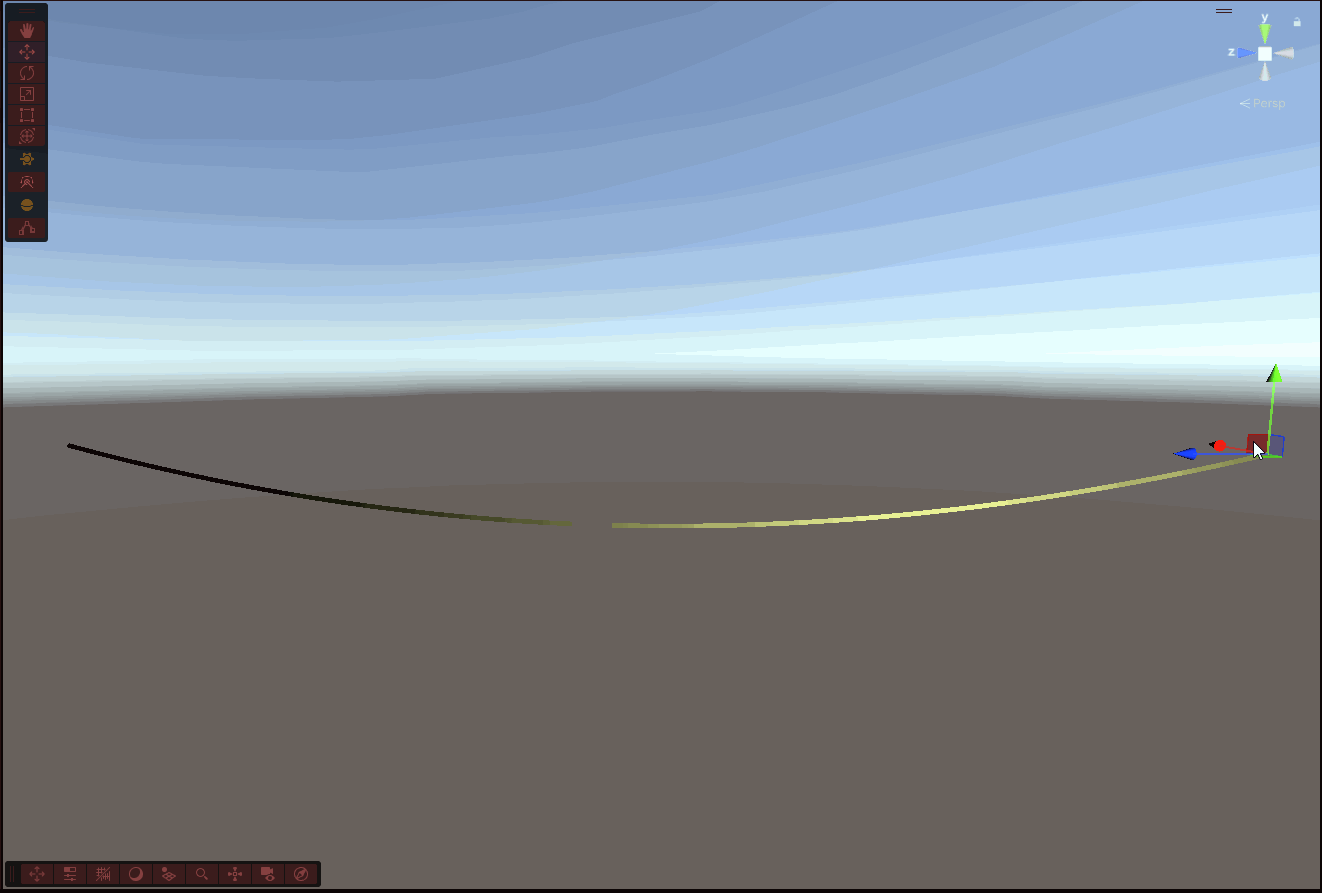
The Sixth Step: Press play!
Lets hit play in the editor and (crossing fingers) you should see:
- The rope form
- The rope then begin to sag (this is if you ticked use physics!)
- The mesh live update when you move it
The Seventh Step: Adjust it to your liking
Now during play mode, you can navigate back to your wire parameters an change them up on the fly!
- Try adding more segments for that really droopy effect
- Thicken up the radius for a more industrial pipe look
- Add more drag and maybe a plane object for a snake like mechanic

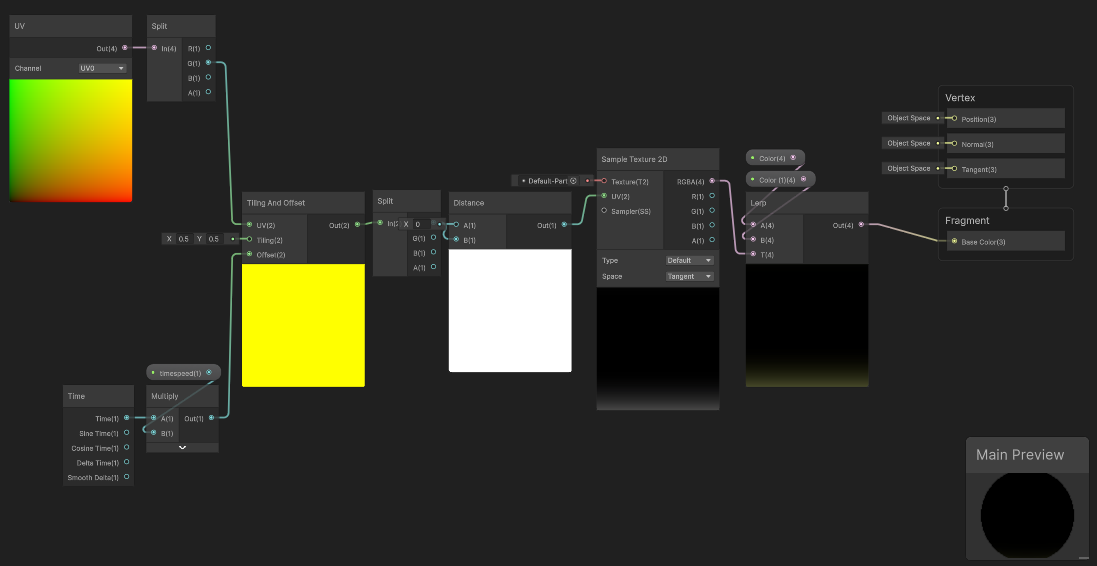
And A Final Tip: Try adding a shader!
- Using Unity’s built in Shader Graph, you can make hundreds of different effects!
- I’m going to do a quick ‘pulsing’ effect that runs own our wire using:
- Tiling and Offset
- Time x Timespeed
- Distance
- Lerp
And that's it!
You now have a functioning dynamic wire/rope that
- Uses mesh generation
- Reacts to physics
- Can be juiced up with shaders, particles or animations!
---
Once again credit goes to Little Red Cabin and Sebastian Lague for their coding tutorials :)